How do I create my first project?
Learn how to create a new project in BrandGen, set up your Brand DNA, and generate your first on-brand image.
What is a project?
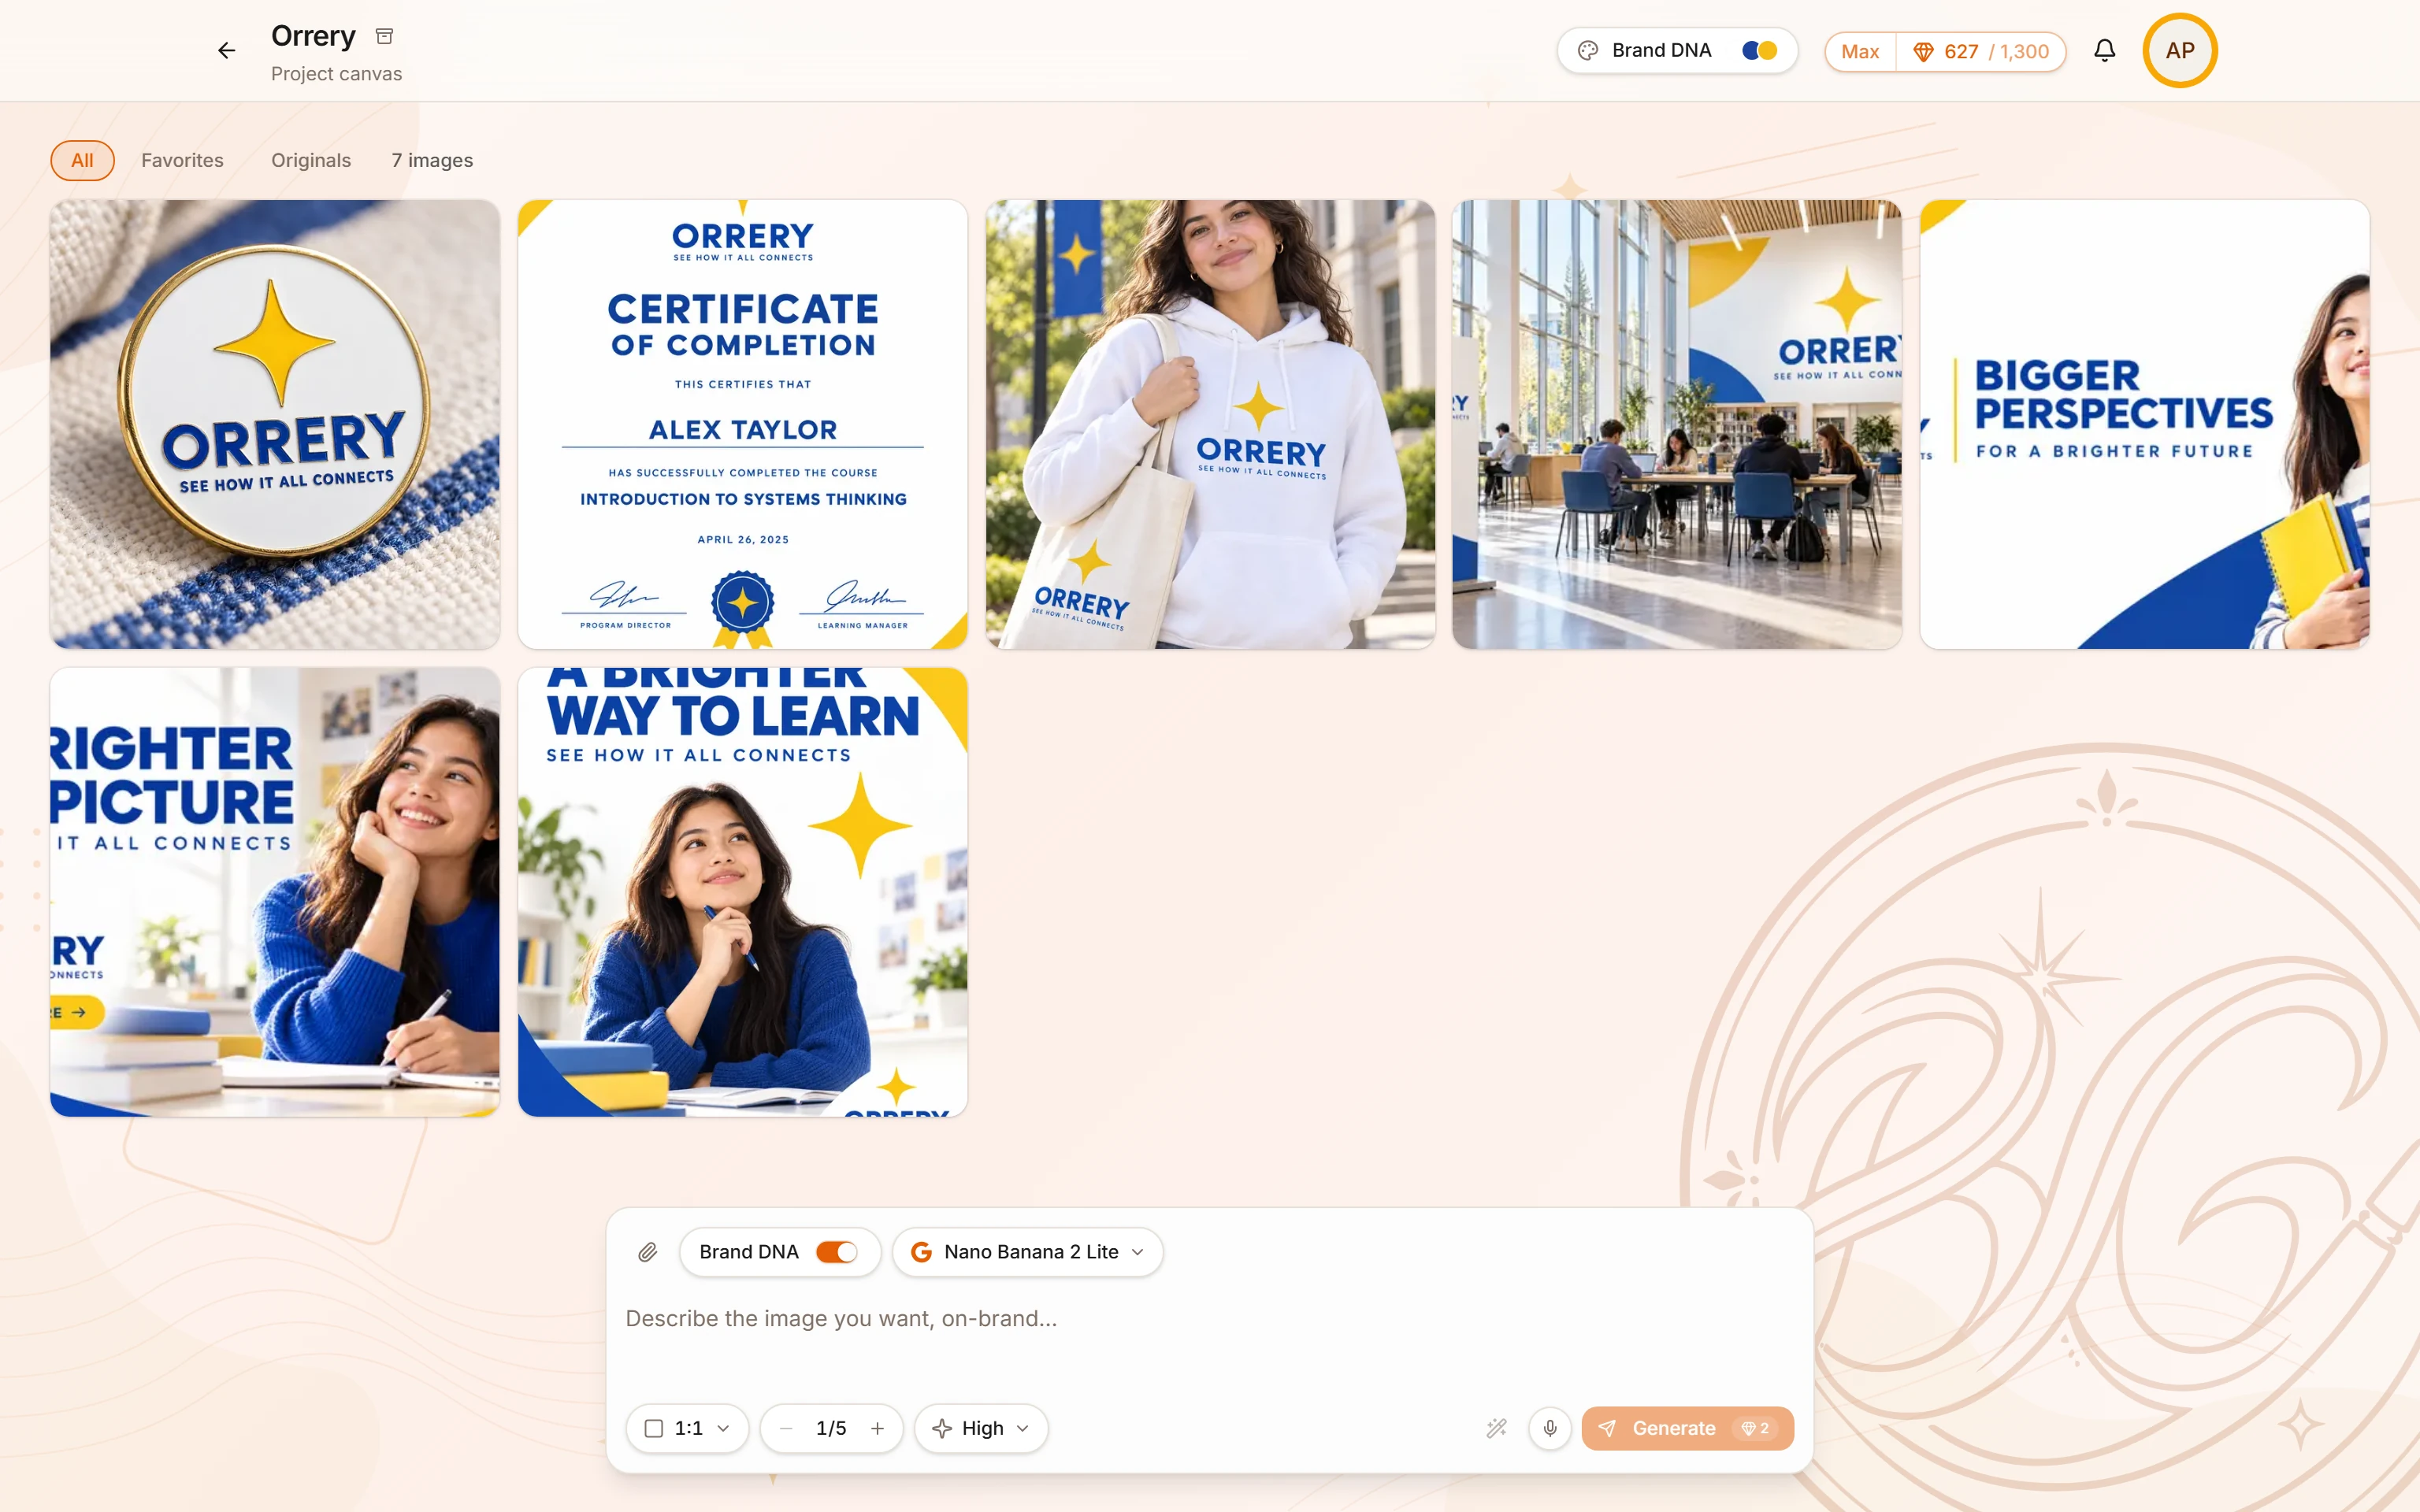
A project is your workspace for a single brand. It holds your Brand DNA (colors, style, tone) and all the images you generate. Keeping one project per brand means every generation stays consistent.
Open the workspace
Go to /app after signing in. You will see your project grid. If this is your first time, the grid is empty.
Create a new project
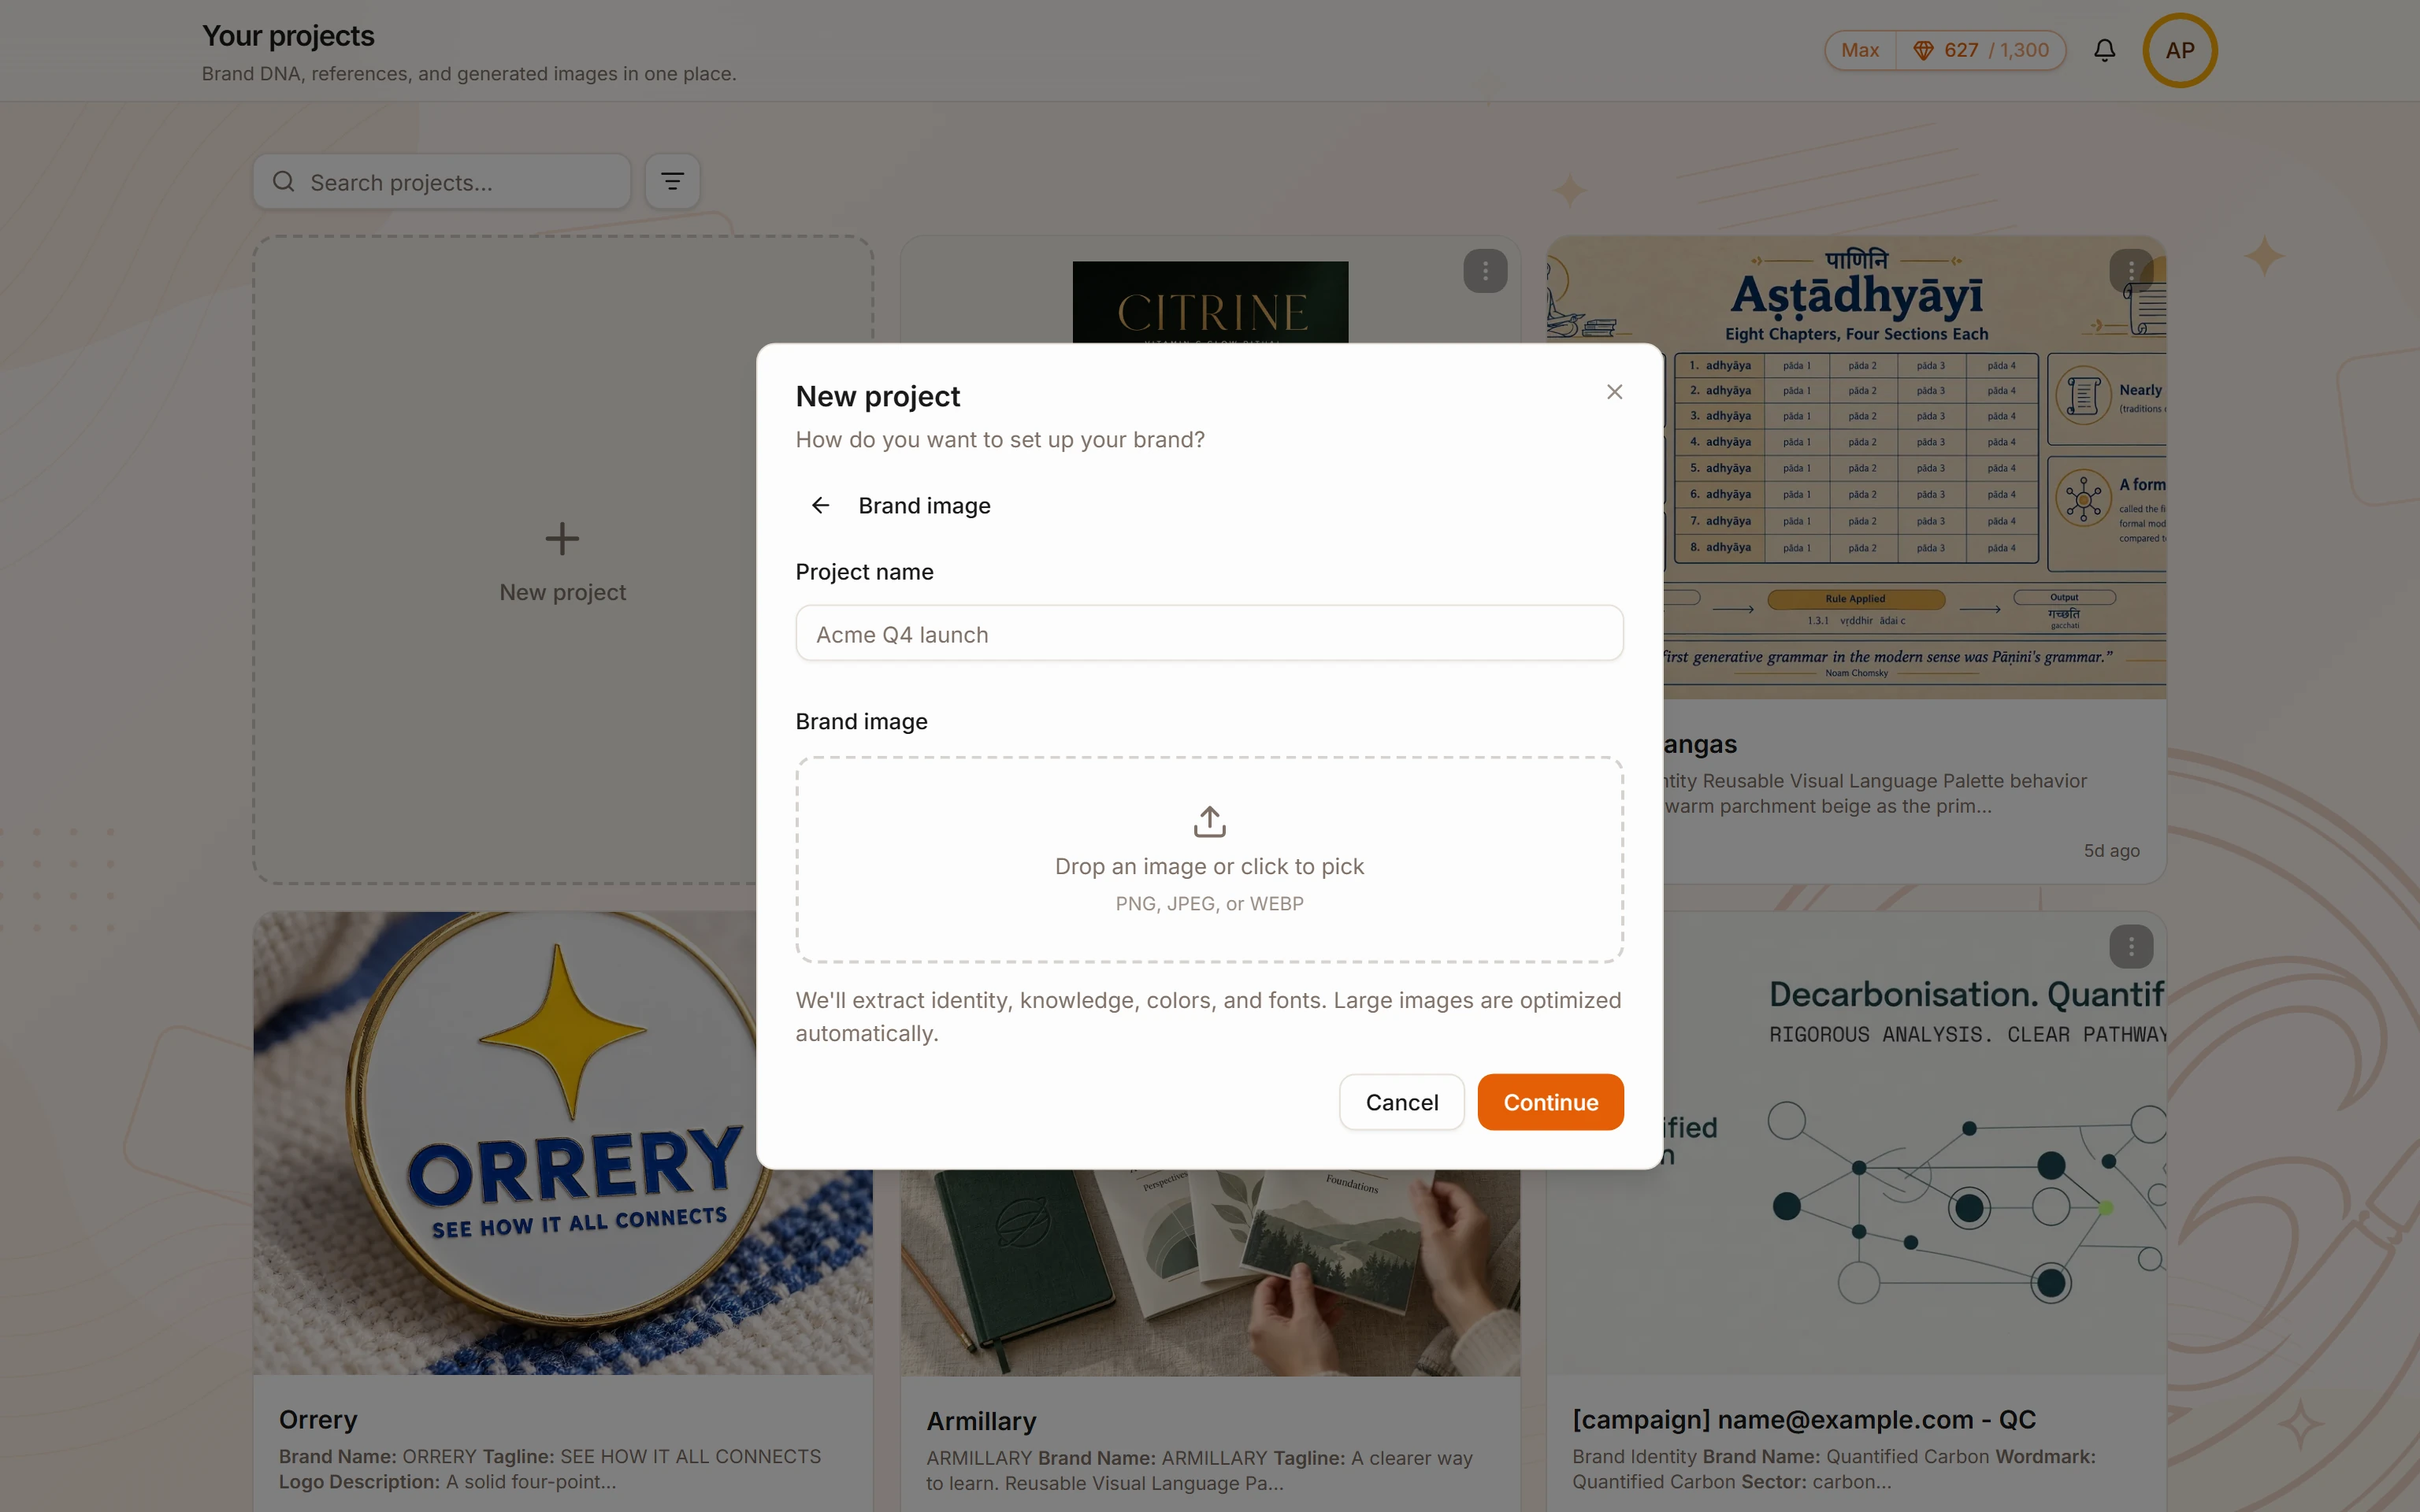
Click New project (the button in the top bar or the prompt in the empty state). A dialog opens asking for a project name and a brand setup method.
Two ways to set up your brand:
- Brand image - drop a logo, hero image, or brand creative. BrandGen extracts colors and style automatically.
- Manual - type your brand spec directly (colors, tone, style keywords).
A third option, Website, extracts brand context from a public page URL. It is marked Coming soon in the dialog and cannot be selected yet.
Pick Brand image and the dialog moves to the next step: name the project and drop the image.
You can always skip this step and set up Brand DNA later from the Brand tab inside the project.
Related articles
- How do I set up my Brand DNA?Brand DNA is the extracted color palette, visual style, and tone that BrandGen applies to every image it generates for your brand.Brand DNA - 2 min read
- How do I generate and refine images?Write better prompts, choose the right model, generate multiple variants, and refine any image into a new version - all from the BrandGen canvas.Generating & refining - 2 min read